Material Group assignment |
  
|
Material Group assignment |
|
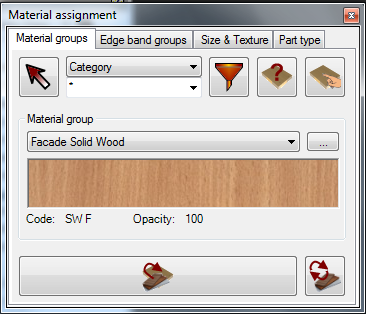
Material assignment Tab
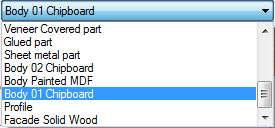
Components selection can be accomplished in several ways:
You can combine selection methods. For example, select components by category and in addition select component by pick.
|
Current material button allows to call up the Pull-Down list of Material Groups. By selecting a record, you can set a current material. Under the of current material button (see Figure material Assignment Tab) color style associated with this Material Group is seen. Material Code and Opacity are presented as well. In any moment of design you can click
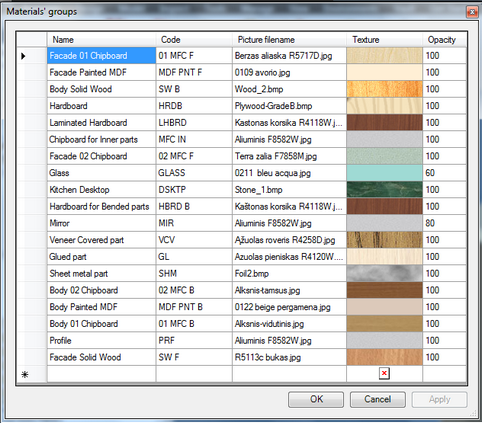 Material Group Editor
You can enter a new material group by filling data in an empty row of the data grid.
Name field is dedicated to short Material Group description. Code - some code which allows identify Material Group. Picture filename and Texture shows the file used for the creation of Material Group color style. An open file dialog appears when you two click the Texture field twice. Opacity field is for specifying the opacity of a material. The lower the vakue is, the more translucent the Autodesk Inventor Material Color style is created.
This data grid can also serve as Material Group selection tool. You can sort the data by clicking any Column Header button. If you click the left empty column cell, you will select this material and after clicking OK this material becomes current.
|
Important! If you make a Part copy or mirror by Autodesk Inventor assembly design features, you need to reattach the Material Group to the Part. Otherwise Woodwork4Inventor recognize the Part as having no material.
|