Purchased component replacement dialog box can be accessed from BOM generator dialog box.
The box is used to create configurations used to replace codes and names of purchased components.
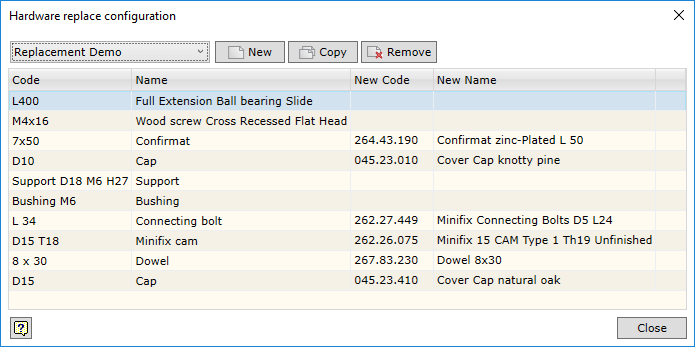
The purchased component replacement setup window contains the same replacement configuration setup commands:
| ▪ | Replacement Demo - setting the current configuration. |
| ▪ | New - creating a new replacement configuration. |
| ▪ | Copy - copying a replacement configuration. |
| ▪ | Remove - removing the current replacement configuration. |
The purchased component replacement setup window contains the following columns:
| ▪ | Code - hardware component code. |
| ▪ | Name - hardware component name. |
| ▪ | New Code - entering a new hardware code. |
| ▪ | New Name - entering a new hardware name. |
To enter the replacement value, place the cursor on the field to be filled in. Click the left key of the mouse once or press the F2 key. Now you can enter the required replacement value in this field. To import values from MS Excel worksheet, click on the icon ![]() in the cell (see Section ‘Entering replacement values from MS Excel worksheet’) that is used for the replacement.
in the cell (see Section ‘Entering replacement values from MS Excel worksheet’) that is used for the replacement.
If the user does not enter a new value in the indicated fields, materials and appearances are exported without any changes.