
1. Intro / Installation
Here you will know how to install Woodwork for Inventor, and how to configure Autodesk Inventor to work together seamlessly.
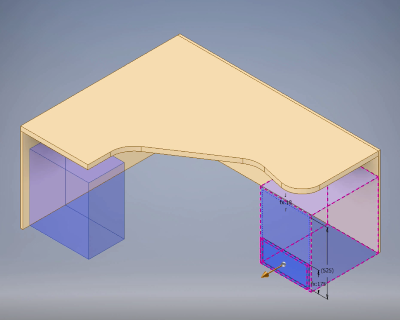
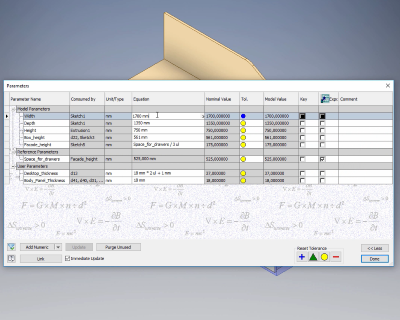
2. Modelling / panel dress up / space for drawers
At this step the skeleton of an office table will be designed. Then we will place panels and define space for drawers, and drawer cases.
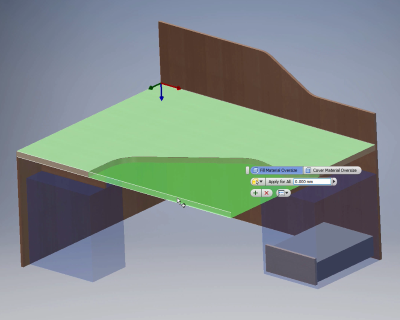
3. Material assignment / Grain direction setup / Oversize
Second step will explain how to define the generalized material groups, set the grain direction and oversize.

4. Hardware assignment
When material have been set it’s time to joint parts together. In this section we will learn how to join components using hardware items and how to configure them to match our design intent.
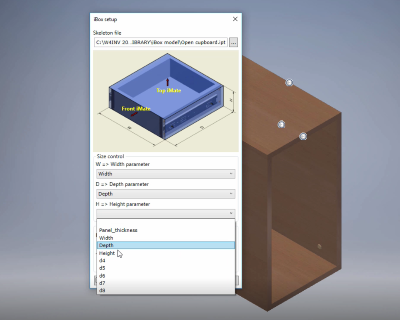
5. iBox creation
Here we will make a parametrically driven template of a cabinet box, define its materials and hardware set.

6. iBox placement
Now the iBox created in previous step will be placed in the assembly context.

7. Material replacement
Assign real materials names, codes, and textures to material groups.
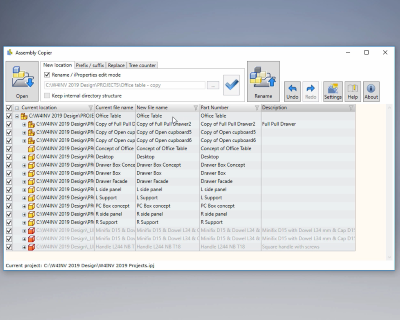
8. Assembly renaming
Using of Assembly Copier tool to assign codes to the assembly components.
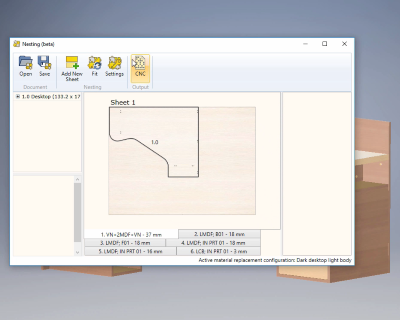
9. Nesting layout and CNC Generation
Here the nesting layout and CNC programs will be generated automatically.

10. Drawings generation
Automated drawing generation from the model data.

11. BOM generation
Automated Generation of Bill of materials.
12. Assembly Copying
Copying of existing assembly with all the parts in to the new folder with new coding scheme.