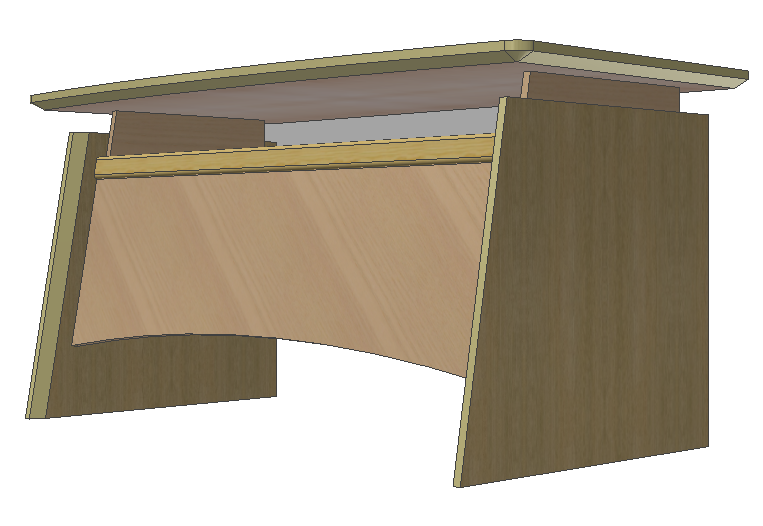
In this section you will learn how to change the grain direction for fill and cover materials.
If you restart Autodesk Inventor after closing it, you will find your unfinished assembly model under the name TBL.iam in the project workspace catalogue Samples/My Table.
Open the grain direction control command:
Woodwork Design –> Material –> Grain ![]()
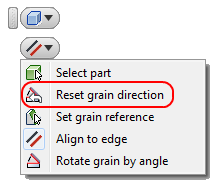
A grain direction control menu will appear.

Select the Fill Grain Rotation command.
The command is in wait mode. Now you have to select a part to which Woodwork for Inventor material is assigned. Then select the front table panel.
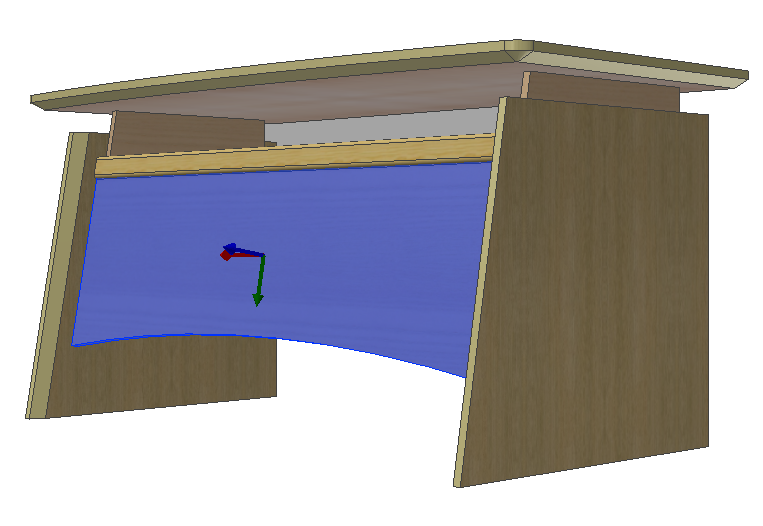
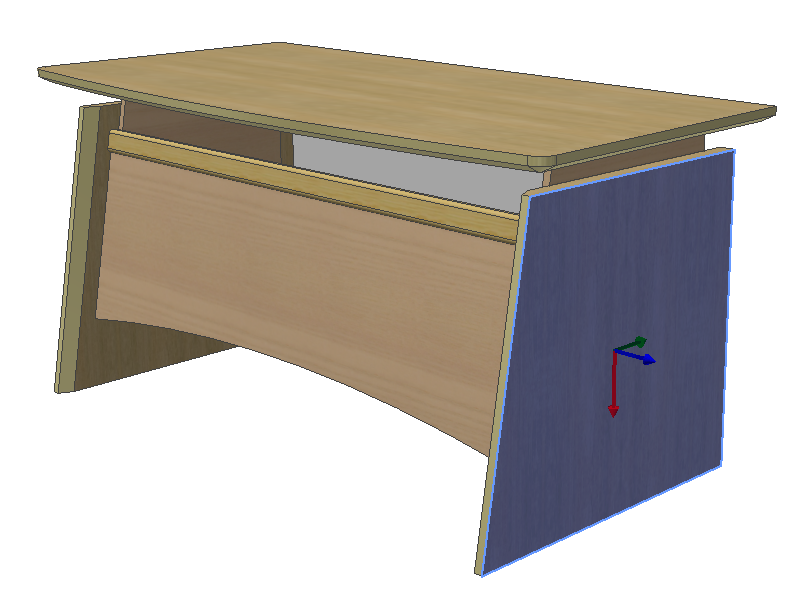
Once you have selected a part, a symbol will appear in the centre point of the component indicating grain direction. The red arrow coincides with the grain direction.
|
By default the command is in the Align to edge mode
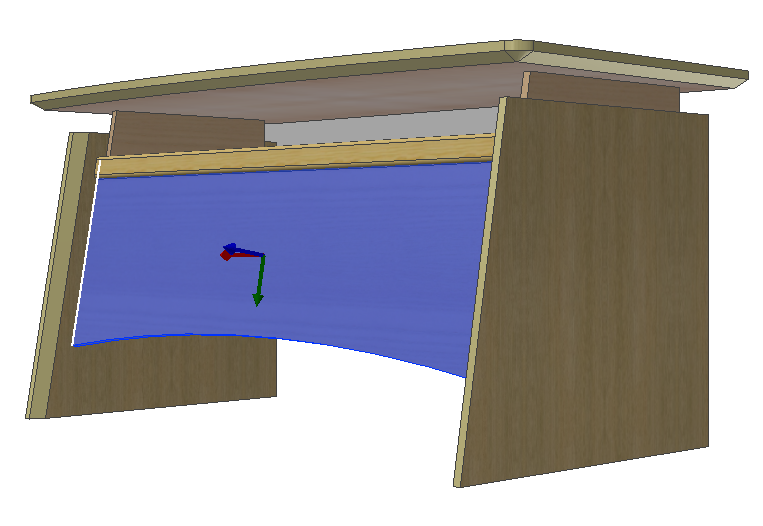
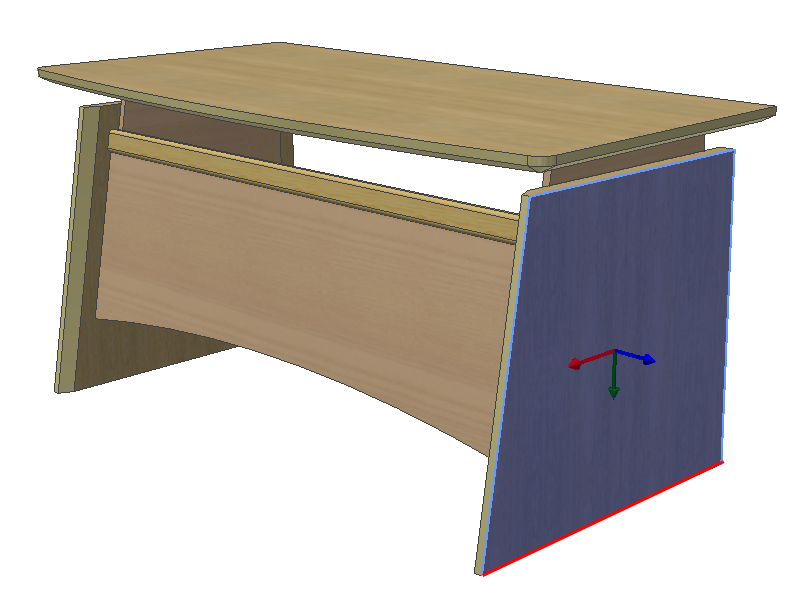
Select a side edge of the component (white line in the figure). Click the “Apply” button and you will see change in the grain direction of the component.
|
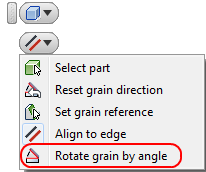
Try out other grain rotation options. Select the same front panel of the table. Select grain adjustment option Rotate grain by angle
Enter a 45 degree angle.
Click the “Apply” button and you will see that the grain direction of the component has changed.
|
Select the same component and select Reset grain direction.
The grain direction of the component is aligned parallel to the longest edge.
|
Now change the grain direction for veneer cover which is placed on a side panel (table component). Select Cover Grain option for grain adjustment by cover material.
The command switches to surface selection option mode. Select the outer surface of the table leg.
The grain rotation is created in the same manner as the fill material rotation. By default, alignment is performed parallel to the edge (Align to edge).
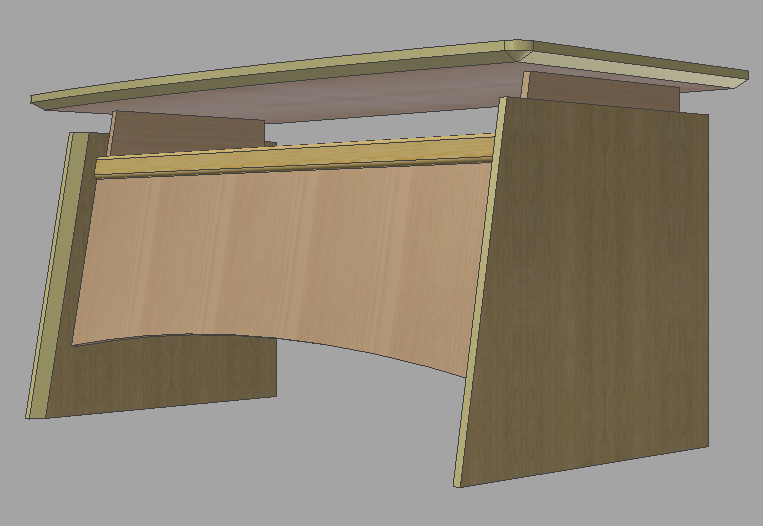
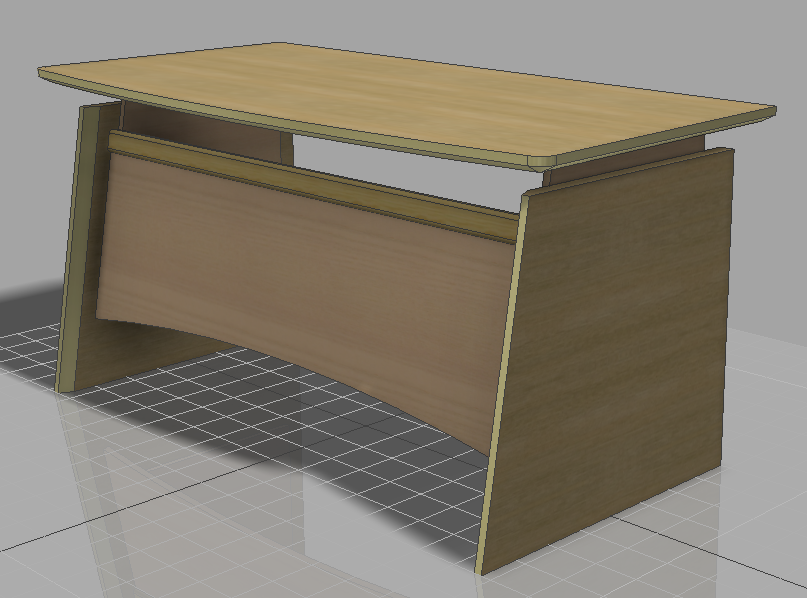
Click the “Apply” button. The grain direction of the veneer type material is aligned along the indicated edge. Rotate the grain directions of veneer type materials for all table legs. The end result of material assignment should look like this.
To save changes, press "Ctrl+S". |

