In this section you will learn how to change the sizes of fill material or cover material workpieces.
If you restart Autodesk Inventor after closing it, you will find your unfinished assembly model under the name TBL.iam in the project workspace catalogue Samples/My Table.
Open the oversize control command:
Woodwork Design –> Material –> Workpiece Oversize ![]()
The oversize control menu will appear.
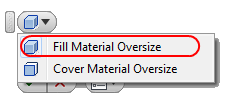
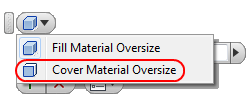
Select the Fill Material Oversize command for changing the size of the fill material workpiece.
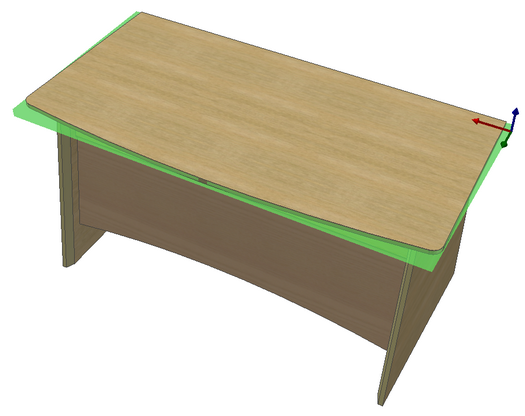
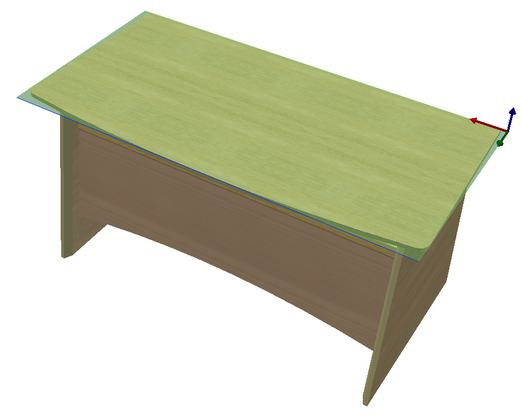
The command is in standby mode. Now you have to select a component to which Woodwork for Inventor material is assigned. You then have to select a desktop. Woodwork for Inventor, taking into account the set grain direction, automatically visualizes the workpiece of the fill material component.
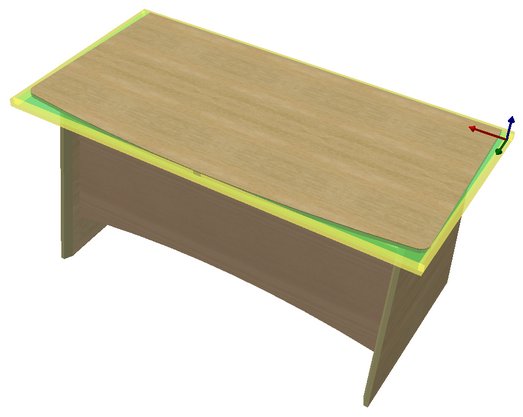
Assign the same oversize of 20mm to all edges. Enter the oversize value and click the button
Additional oversizes are added to the desktop workpiece.
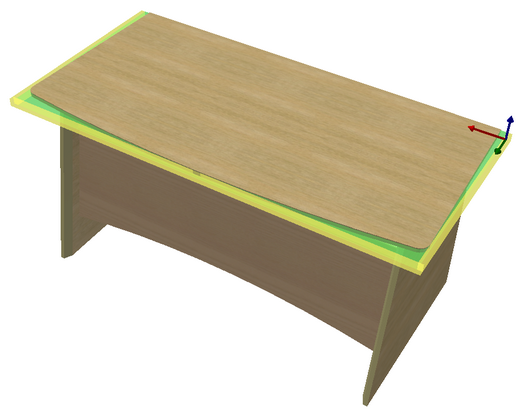
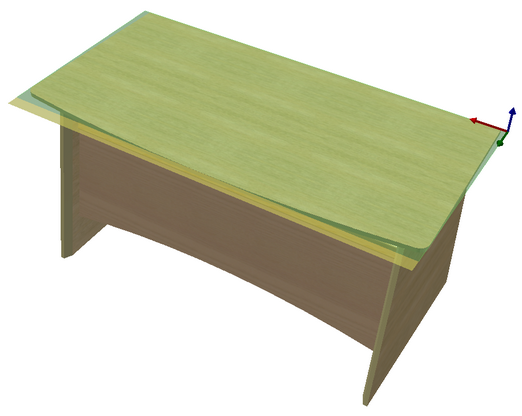
Without closing the Fill Material Oversize, remove the oversize from the back of the table. Using the cursor, select the oversize your want to reduce and enter value 0 in the oversize value field. Click the
After you have performed this action, the oversize will be removed from the back of the desktop.
|
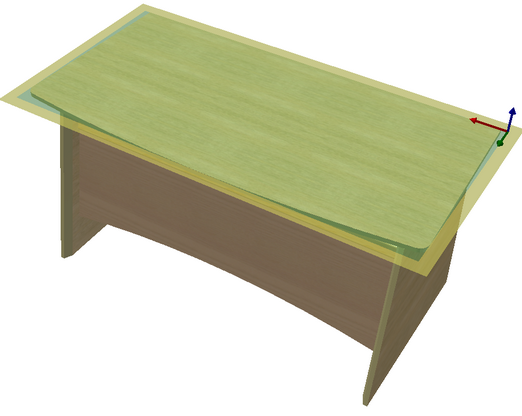
In the oversize control window, select Cover Material Oversize. Then select the surface of any component to which Woodwork for Inventor Veneer type material is applied. Select the top surface of the desktop and select the front edge.
Enter 50mm in the oversize value field and click the
Now click the
If necessary, you can change oversizes for other components as required. To save changes, press "Ctrl+S".
|

