The Assembly Copier command is launched based on your objectives:
| 1. | Rename - renaming mode. Used to change file names or iProperty field values for a selected assembly. |
| 2. | Copy - copying mode. Used to copy the selected assembly to a specified location in the disc |
| 3. | Insert - insertion mode. Used to insert the selected sub-assembly into the assembly being designed. |
This mode can only be launched when Autodesk Inventor is running, and when no document is open. In this case, you have to select the desired assembly in the Assembly Copier and perform the renaming process. Click here for more information on how the Assembly Copier works in the renaming mode. On the other hand, the Assembly Copier command activated in this mode can be also used in the copying mode.
|
The Assembly Copier can be launched both from the Autodesk Inventor environment and as a separate Windows program.
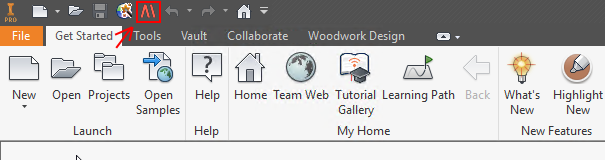
In the Autodesk Inventor environment, the Assembly Copier is launched from the Quick Access Toolbar.
Then the Assembly Copier opens an assembly file that is a currently active Autodesk Inventor document.
Another way to launch this program is by starting it as an independently working command. You can do this by clicking the Assembly Copier start button which can be found on your computer desktop.
The program launched this way does not contain any content and it is necessary to specify which Autodesk Inventor file needs to be opened to perform copying.
|
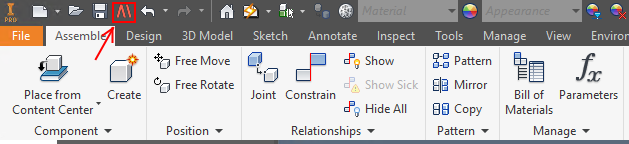

To open the command, go to:
Assembly –> Place
The Assembly Copier in the assembly insert mode is launched from the insert component in the assembly menu. Its operation is unique in that the copy of the selected assembly is inserted into the structure of the assembly already under construction. During the insertion process, names for renaming are selected based on the Tree Counter renaming scheme which is applied to File Name and Part Name fields. The initial value of the counter is set so that the item being inserted acquires a code number which follows the numeration of the existing assembly. For example, we have designed a Kitchen project which includes six cabinets:
Kitchen Kitchen 00 Kitchen 01 Kitchen 02 Kitchen 03 Kitchen 04 Kitchen 05 Kitchen 06
So, for example, when inserting a drawer block prototype into this project, the Assembly Copier automatically scans the Kitchen project assembly and finds the first non-repetitive name value available (in this case Kitchen 07). Then the drawer block assembly is automatically numbered from the aforesaid number and is inserted in the assembly.
The user can also apply other desired schemes. The location for copying is set automatically by creating a sub-catalogue which is found in the same catalogue that contains the assembly being designed.
|
The figure below shows the navigation in the Assembly Copier command.

In the program window you can see the following commands and functional areas:
|