Now that the base point of the part has already been set, we can move to the creation of processing operations. The highlighted state of the command buttons used for creating operations and located in the CAM module toolbar indicates that we can now perform the creation of operations. Previous to this point, all of these buttons were grey and inactive. The first operation which needs to be performed for this part is a groove machining operation.
Woodwork CAM -> Groove ![]()
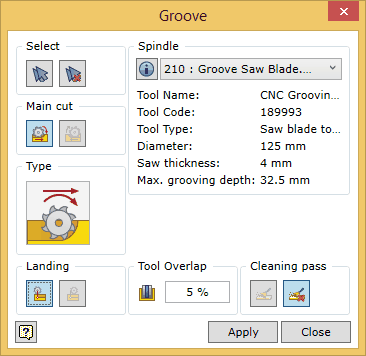
Since only one spindle with a blade for grooving is defined in the configuration of this machine, the spindle selection is not relevant. First, the groove geometry is selected in the part model. All of the commands of the Woodwork for Inventor add-on for creating CAM operations have a "manual" or automatic geometry selection mechanism. If you use the "manual" option, you simply need to indicate the bottom of the groove using a cursor. Meanwhile, the automatic selection can be created by simply clicking the button ![]() .
.
The geometry selection is limited by the capability of the selected machine to be oriented so that the desired machining of the specified geometry and the shape to be produced by the operation would be realized. For example, for hole cutting, only cylindrical surfaces can be specified; for milling, the user may specify the assemblies of irregular surfaces that are arranged in the same direction. Whereas for grooves, flat surfaces bounded by the edges of the groove may be specified. It is up to the user to decide which type of mechanism to use, depending on the expected milling result. In this case we will use the automatic selection option ![]() .
.
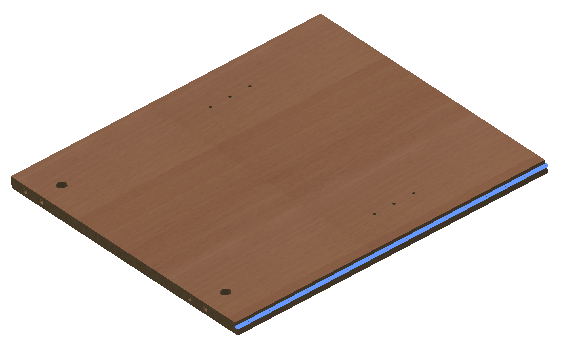
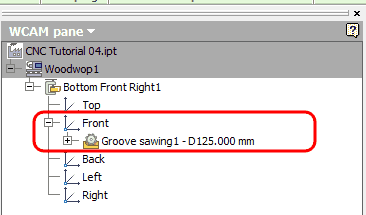
The highlighted surface of the groove indicates a successful selection of the groove geometry. Also, different groove cutting options can be additionally selected. Here the user can adjust the cutting direction, blade entry conditions, overlap in case of a wider groove, etc. Here you can find more information about the options of this operation. Then click the "Apply" button. An operation will be created and a container representing its information will appear in the side browser window.
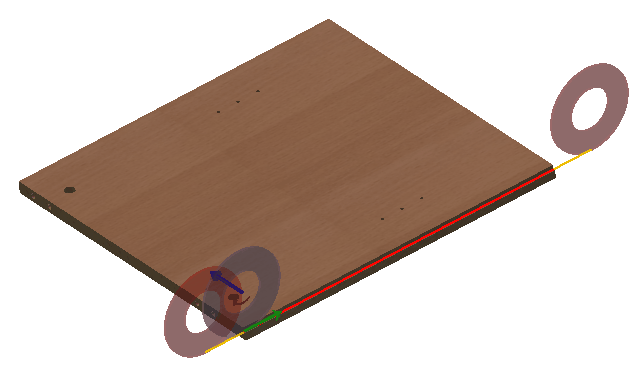
If you place the cursor over the operation node within the browser, you will see a tool trajectory created for the operation in the graphic view.
We can now move to the creation of other operations.